

DIY Dog Grooming: Tips and Tricks for Trimming Paws, Brushing, Washing, and Drying Your Dog's Coat
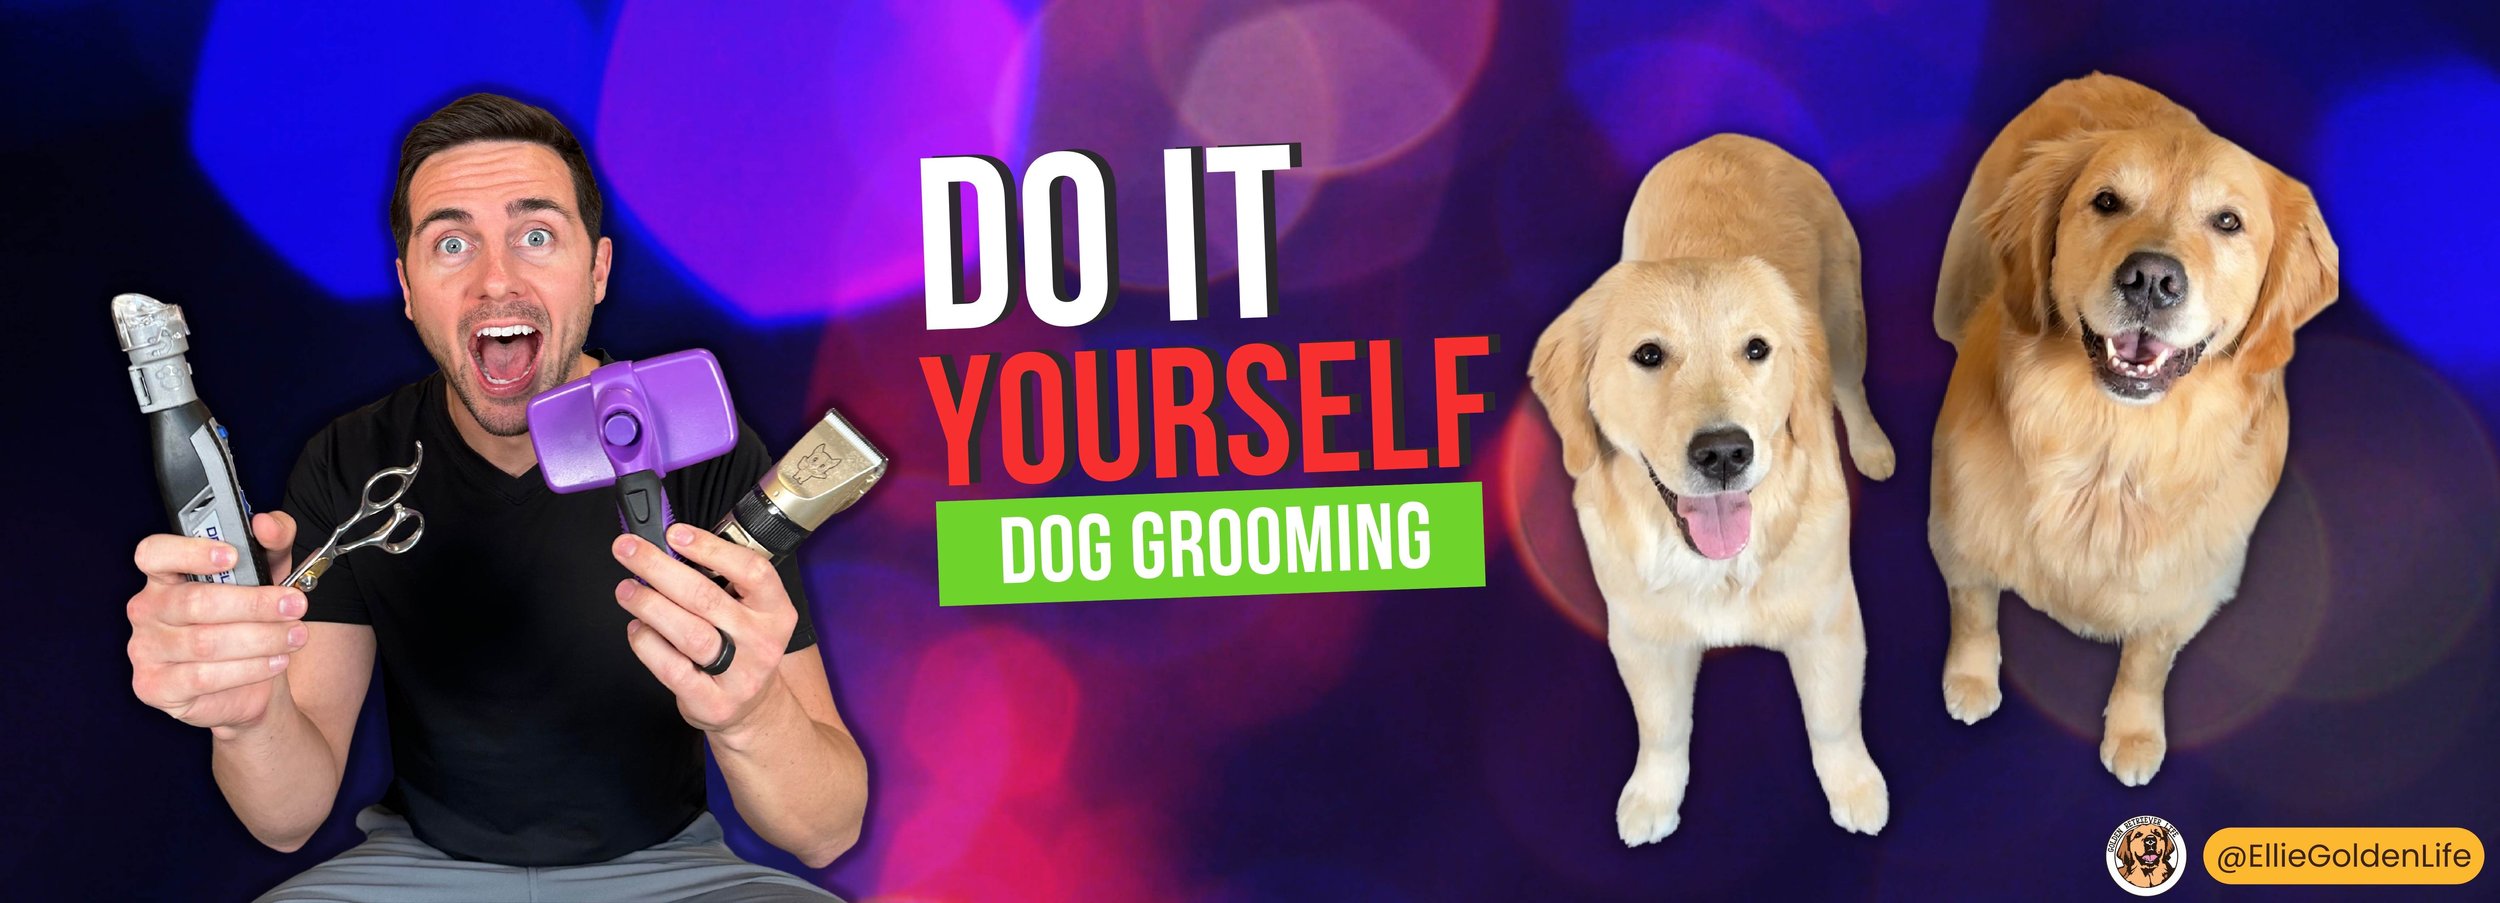
Help your dog look and feel their best!
Regular “pawdicures”
prevent irritation
enable traction
provide comfort
Keep reading for our pro tips on paw care, and brushing, washing, and drying their coats.


All the grooming products in this article are listed here for quick reference:

Hair
One thing that never seems to end with having a dog is managing their hair. While a trip to the groomer every once in a while is beneficial, there is plenty you can do at home with the right supplies.
I’ll share techniques for trimming the hair around your dog’s paws and brushing, washing, and drying your dog’s coat with the use of positive reinforcement.
Trimming Paws
Trimming the hair around your dog’s paws will help to prevent irritation, provide traction, and keep your pup comfortable.
The goal is to make it a positive experience. Items such as a lick mat, treats, or a bully stick in a Bow Wow Buddy are a great distraction.
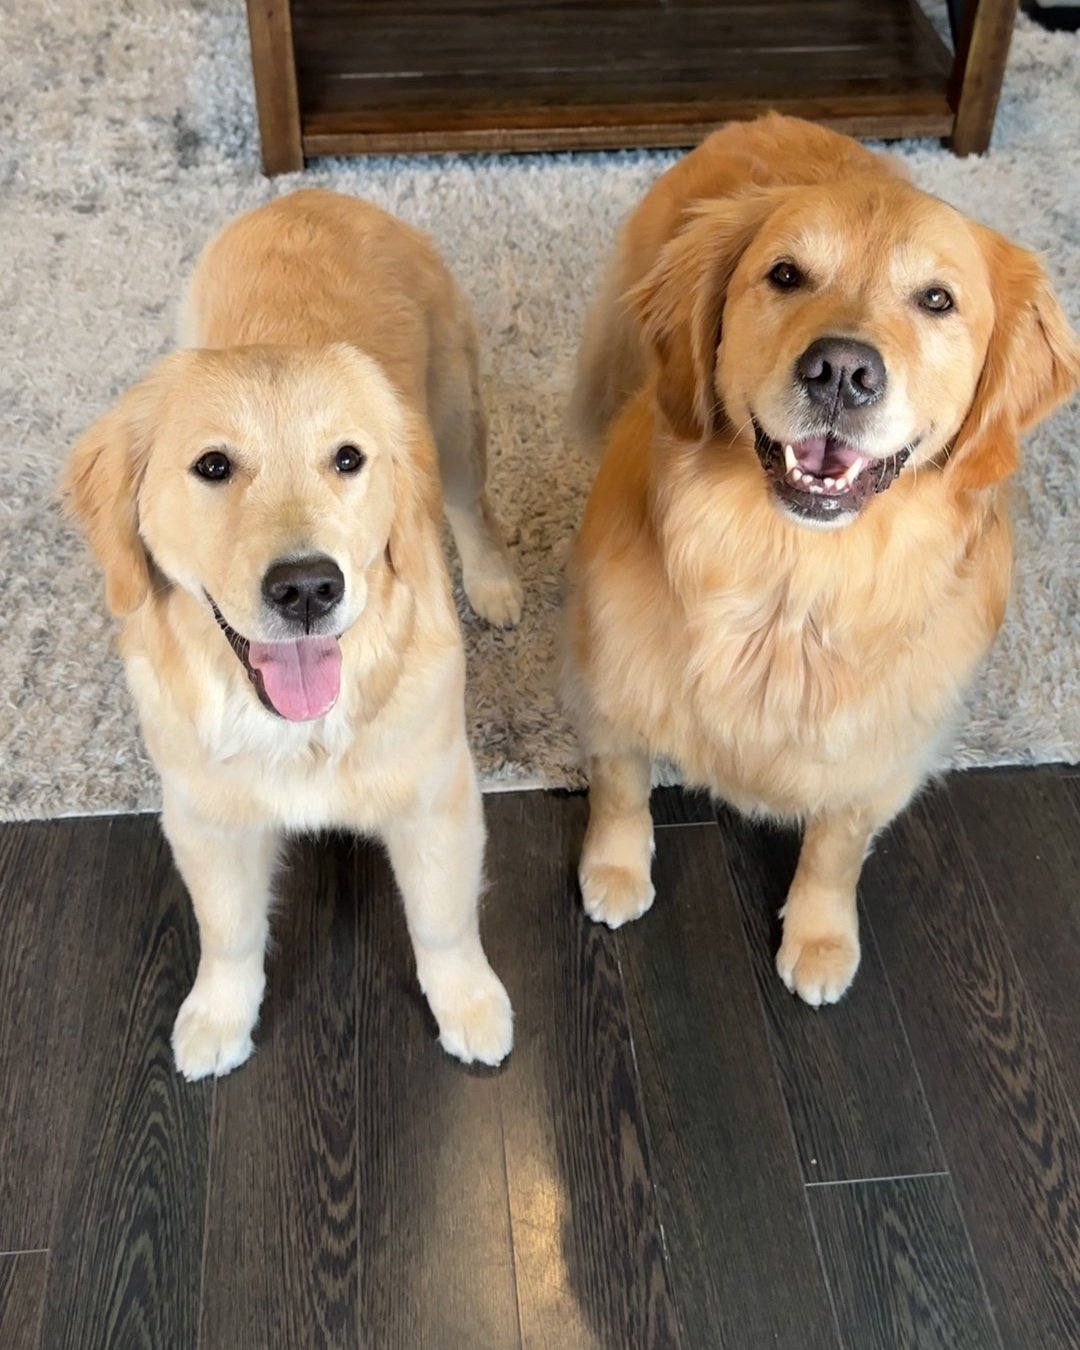
Ellie and Emma go crazy over their food, so I often hand-feed them a meal when I need to trim their paws.

Try these simple steps, and check out the video below that demonstrates trimming paws with a puppy and an adult dog.
5 Steps for Trimming Paws
Make it a positive experience by offering a distraction and gently grabbing your dog's paw.
Brush the hair in the opposite direction it grows with the slicker brush.
Use scissors to cut the long exposed hair between the toes, but don't go too short.
Trim the hair on the bottom of the feet between the pads (you can use clippers or scissors but avoid hitting the pad).
In the winter, I often apply paw cream to help with dryness.
Brushing Your Dog
There are many benefits to brushing your dog regularly:
Removes loose and excess fur (reduces shedding- woohoo!)
Removes debris.
Reduces time spent cleaning your floors and brushing hair off your clothing.
Distributes naturally occurring oils in the dog’s fur, leading to a healthier, more vibrant coat.
Reduces the chance of hair mats that will eventually need to be cut out if left unkempt.
One of my best tips for reducing shedding is frequent brushing. I try for 2 times a week.
Keep the brush out somewhere where you see it to help trigger your memory. It doesn’t take long, just 2-3 minutes of brushing!

The brush best for your dog depends on their breed or type of hair. I use these two types of brushes for my golden retrievers:
Slicker brush: flat or curved head with rows of thin wire pins, which remove loose fur and help detangle.
Undercoat rake: many small, sharp, curved blades set close together that remove the undercoat.
✨ Tips for brushing your dog
Brush in the direction the hair naturally grows.
Brush down and out.
Keep it a positive experience by offering treats and praise.
Apply firm strokes but do not use too much pressure.
Avoid brushing damp hair, as this can be painful and cause more knots and tangles.
Washing Your Dog
I take Ellie to the groomer about every three months for a bath, nail trim, and touch-up hair cut. In between visits to the groomer, I wash Ellie and Emma at home as needed. This might be if they are muddy from a hike or just went swimming in salt water and need a fresh rinse.
Baths are an experience that requires sensitization training to feel comfortable.
➡️ I outline step by step in this blog how I trained my dogs to associate bath time with a positive experience.

Bath Supplies:
Use a shampoo and conditioner designed specifically for dogs. I use Vet’s Best Allergy Itch Relief Dog Shampoo and Conditioner because it helps with Ellie’s sensitive skin.
There are a lot of dog lick pads that suction to your tub or shower wall, and your dog is distracted by licking the tasty treat while you scrub-a-dub-dub.
⚠️*Caution: Be sure you use peanut butter that does NOT contain xylitol or birch sugar, as it is extremely poisonous to dogs.

Drying Your Dog
Being wet for too long can lead to skin issues, so I use a combination of drying Ellie and Emma with a towel and the Flying Pig pet grooming dryer.
I also place an ear protector over Ellie's ears if I use the dryer to shield her from the irritating loud noise. Plus, she instantly turns into a sight that makes you smile. See!

Did you know food can significantly impact your dog's coat?
A dog's diet can greatly impact how soft and shiny their coat is.
I love feeding Ellie and Emma Spot & Tango because their food is high quality and made with whole food ingredients. I honestly get these types of compliments all the time:
"Ellie and Emma are so soft!"
"They must go to the groomer every week!"
If you’re interested in trying it out for yourself, use promo GOLDEN for 60% off your first order.

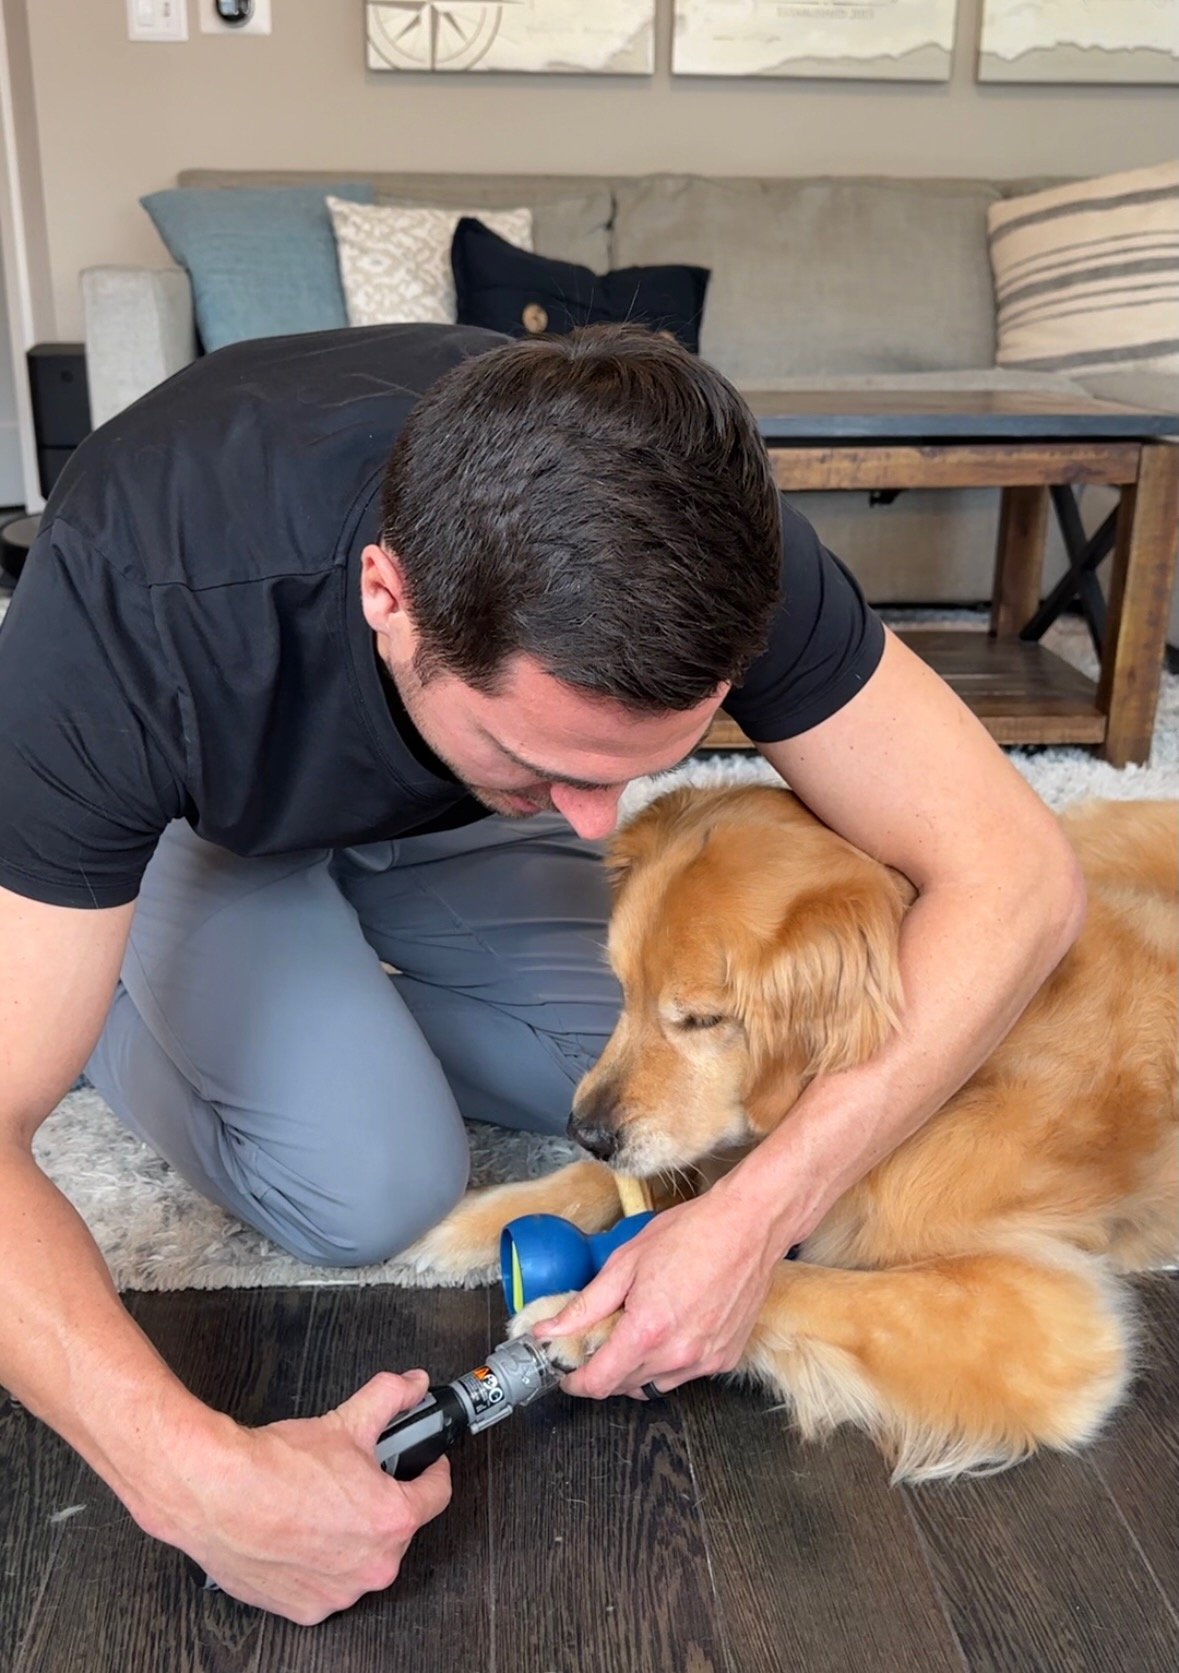
Nails
Like many tasks of dog training, trimming nails takes practice and consistency. I’ll share how to perform nail trimming with positive reinforcement in 5 steps.
Supplies: I find a nail grinder is safe and easy to use.
#1: Desensitization Tasks
First, warm up your dog to the idea of having their paws handled. Try these three tasks while offering treats:
Hold each paw in your hand
Touch their nails one at a time
Rub the bottom of their paw pads
#2: Introduce the Nail Grinder
Keep the nail grinder OFF.
Let your dog sniff the nail grinder while offering treats.
Bring the nail grinder closer so that it touches your dog’s paws.
Keep the grinder OFF.
Continue to offer treats and praise.
#3: Introduce the Noise
Turn the grinder ON a few feet away from your dog to let them hear the noise.
The grinder I use is pretty quiet, and Emma didn’t seem to react to it turning off/on.
Bring the nail grinder closer to your dog while offering treats.
#4: Introduce the Vibrations
While the nail grinder is on, bring it close to your dog’s paws so they feel the vibration.
Do not try and cut a nail yet.
#5: Finally! Time to Trim a Nail
Try trimming off just the very tiniest tip from one front paw nail.
Only do one nail.
Offer lots of happy praise and a treat if your puppy lets you.
Even if they let you, just do one. Repeat every day until your dog lets you do this and doesn’t seem to mind.
Start with 1-2 nails. If you only get through one paw, that is okay. Keep working your way through as tolerated by your dog.

✨ Tips for Trimming Your Dog’s Nails:
🔹 Remember, this slow “warm up” and extra bit of work now can make for a lifetime of stress-free nail cutting.
🔹 Make it a positive experience by offering treats, a dog lick mat with peanut butter, and upbeat words of praise (“you’re the best puppy in the whole wide world! Yes!”)
🔹 Support your dog’s toe firmly but gently.
🔹 To extend your dog’s nail for a better view, push your thumb slightly up and backward on the pad while pushing your forefinger forward.
🔹 Hold the grinder towards the top for more stability and control.
The most important message I would emphasize is to make grooming a positive experience for you and your pup! I hope the tips in this blog help you increase your skills and confidence with do-it-yourself grooming.
Find these grooming favorites and more dog products on Amazon.

You may also be interested in our training tips!
